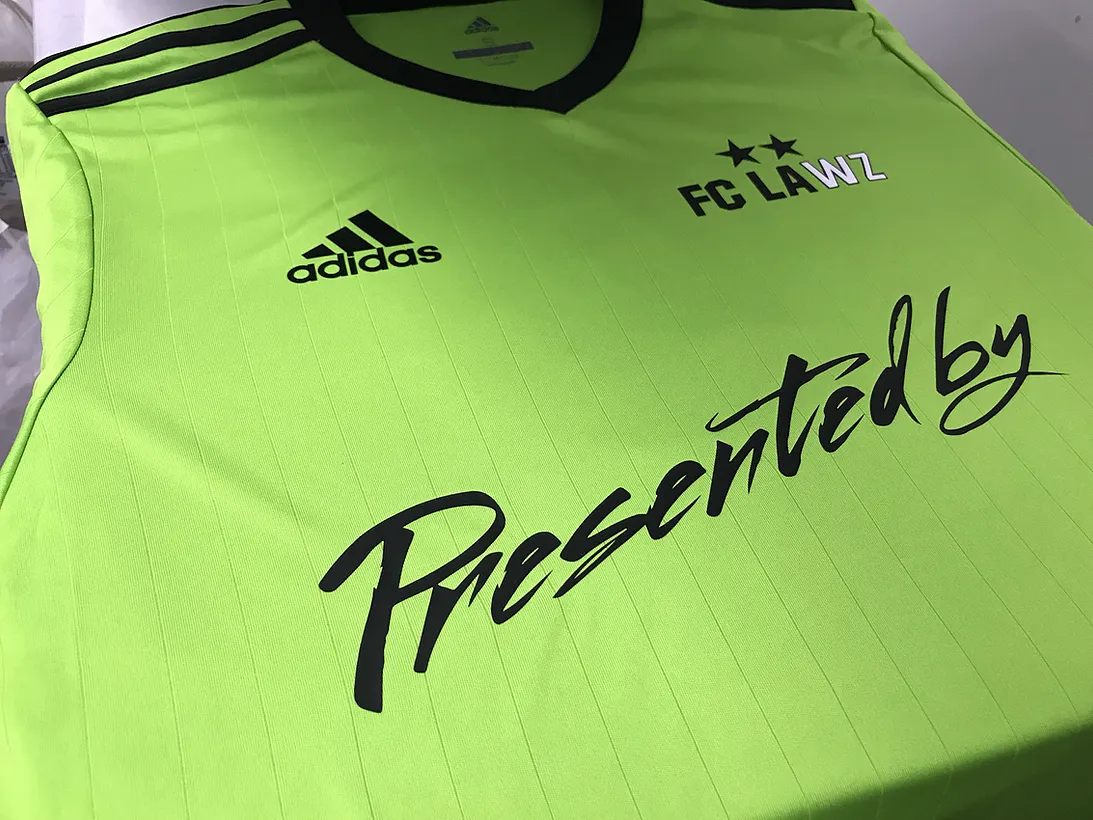
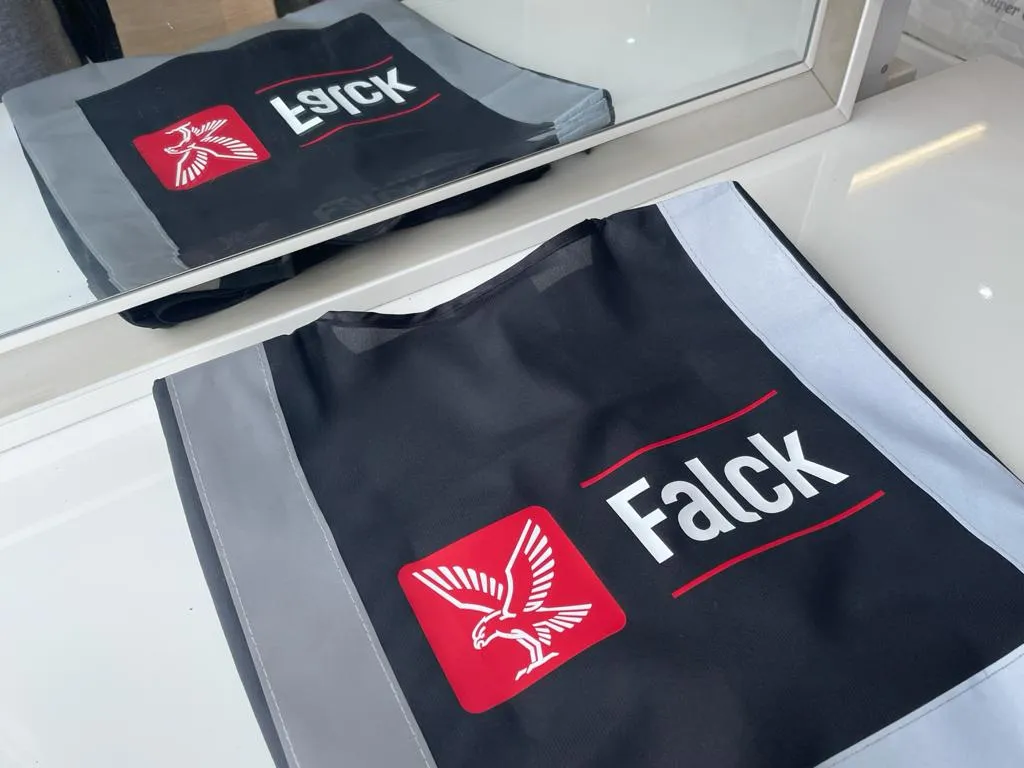
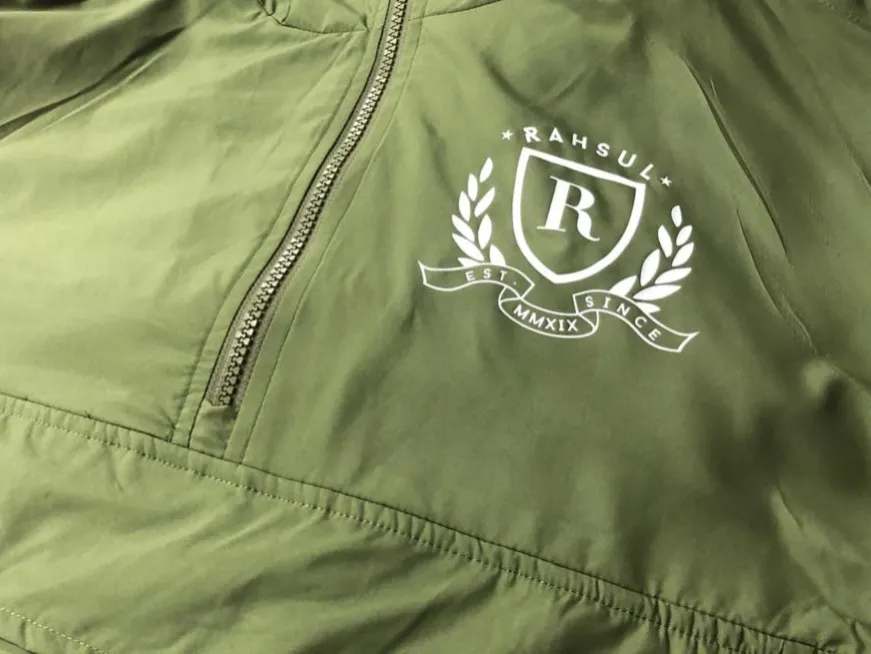
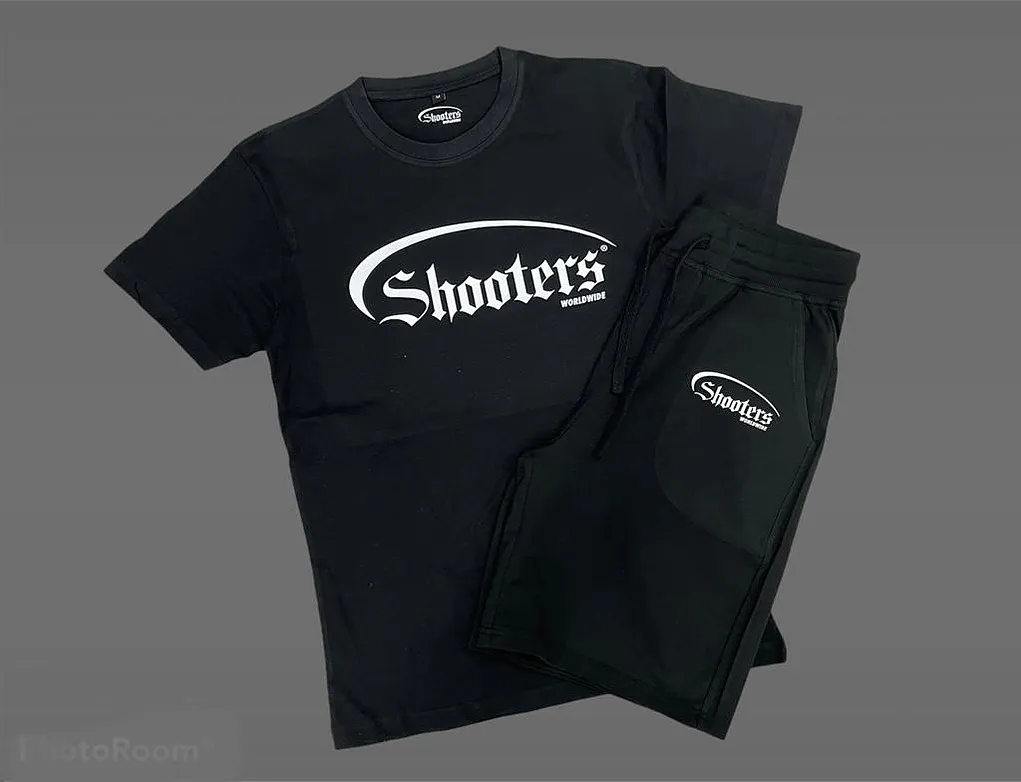
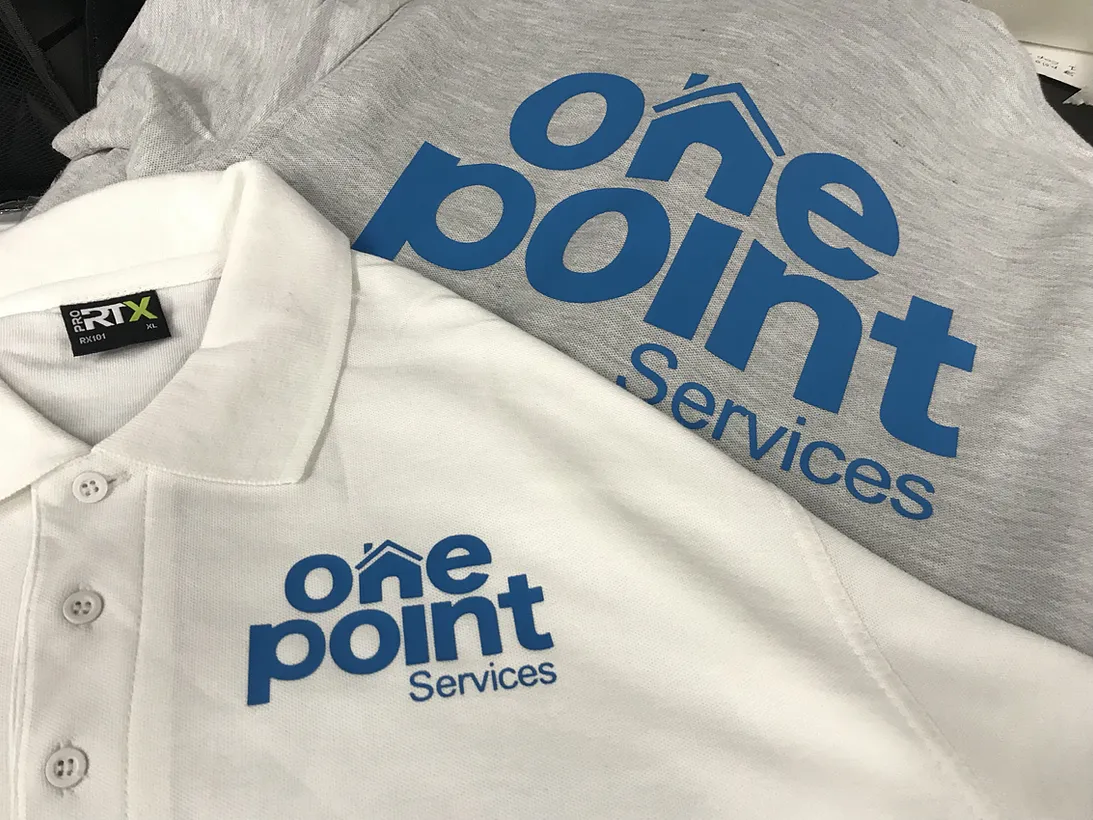
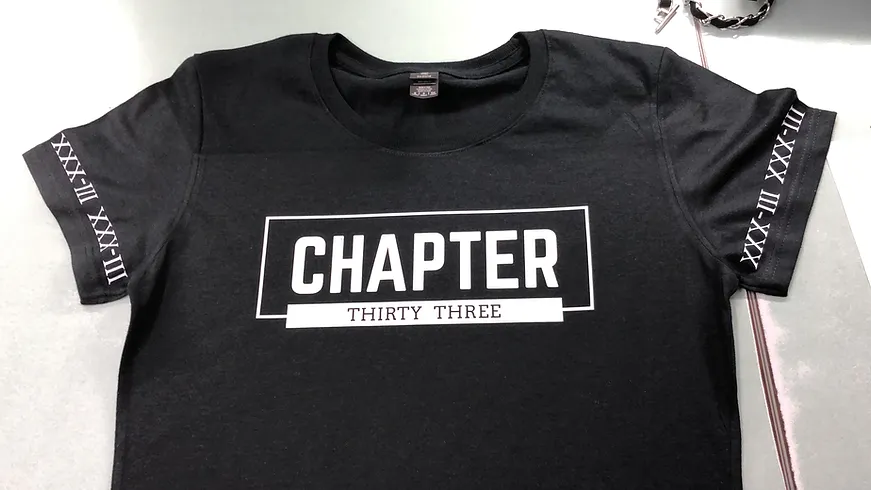
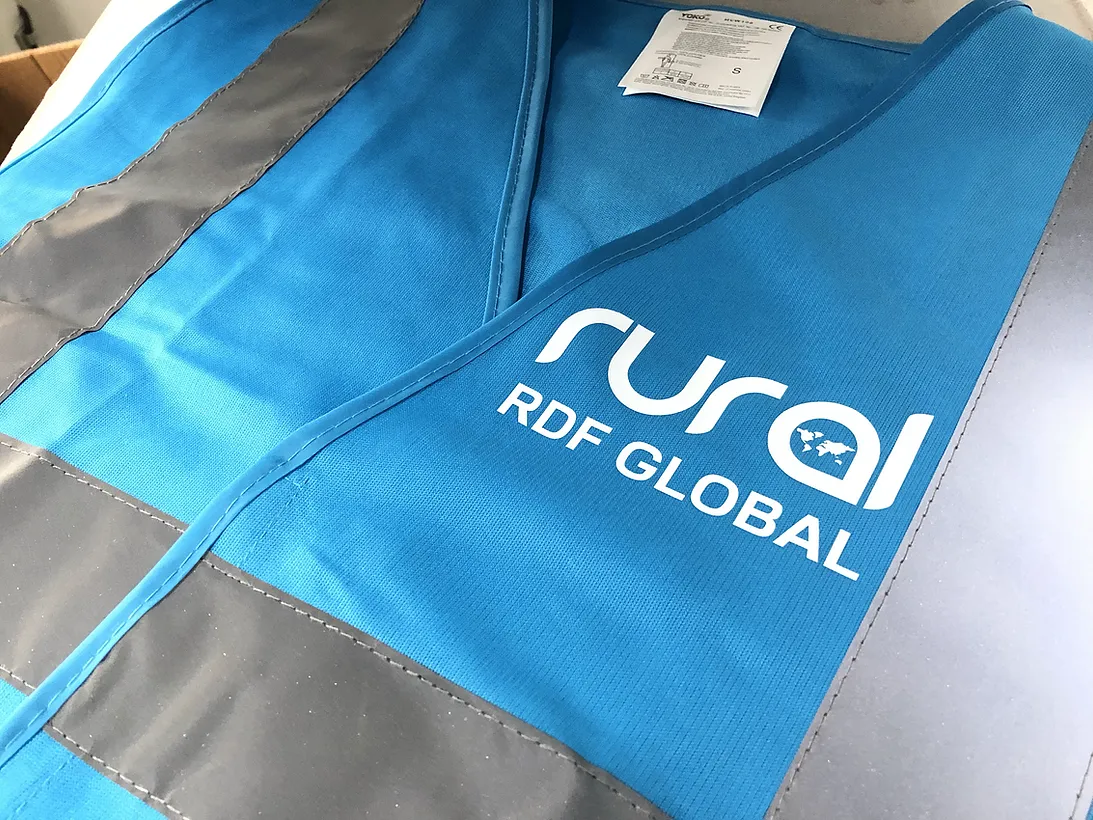
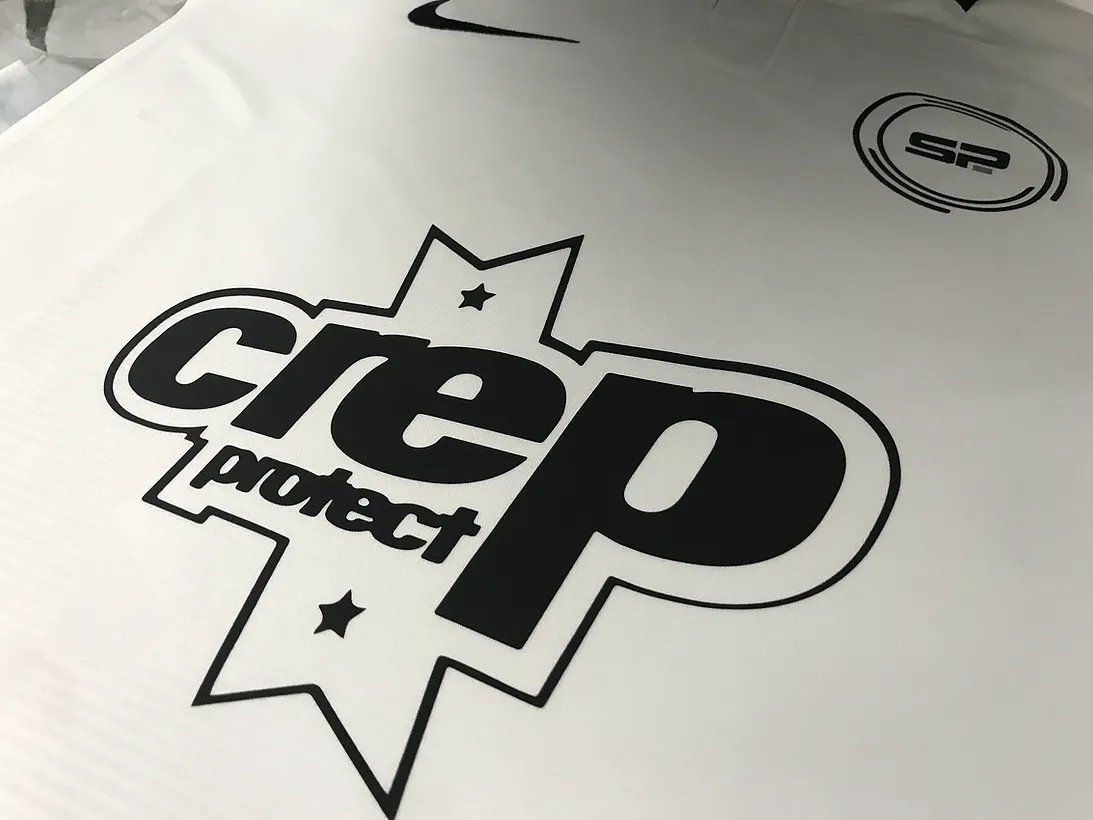
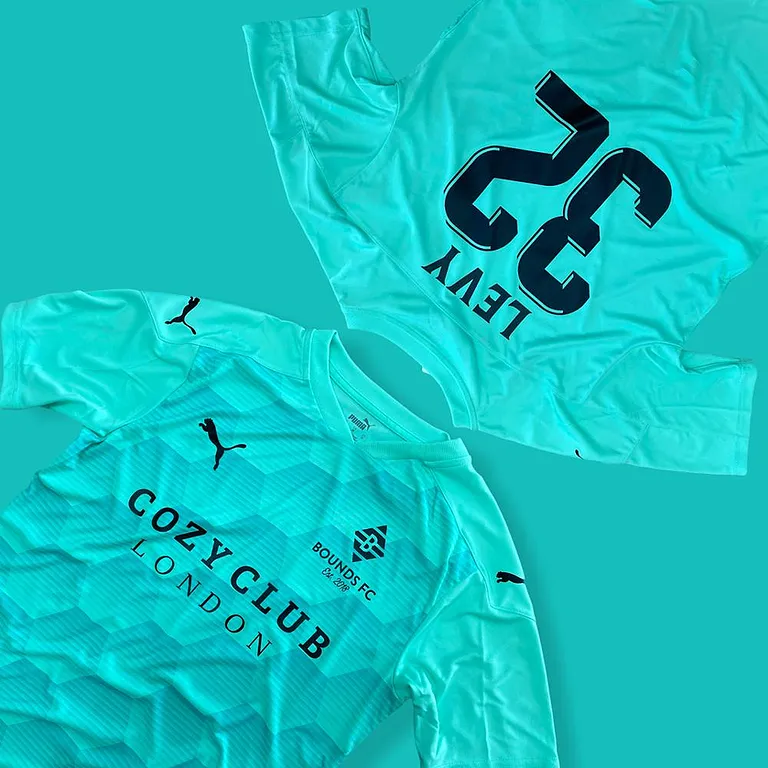
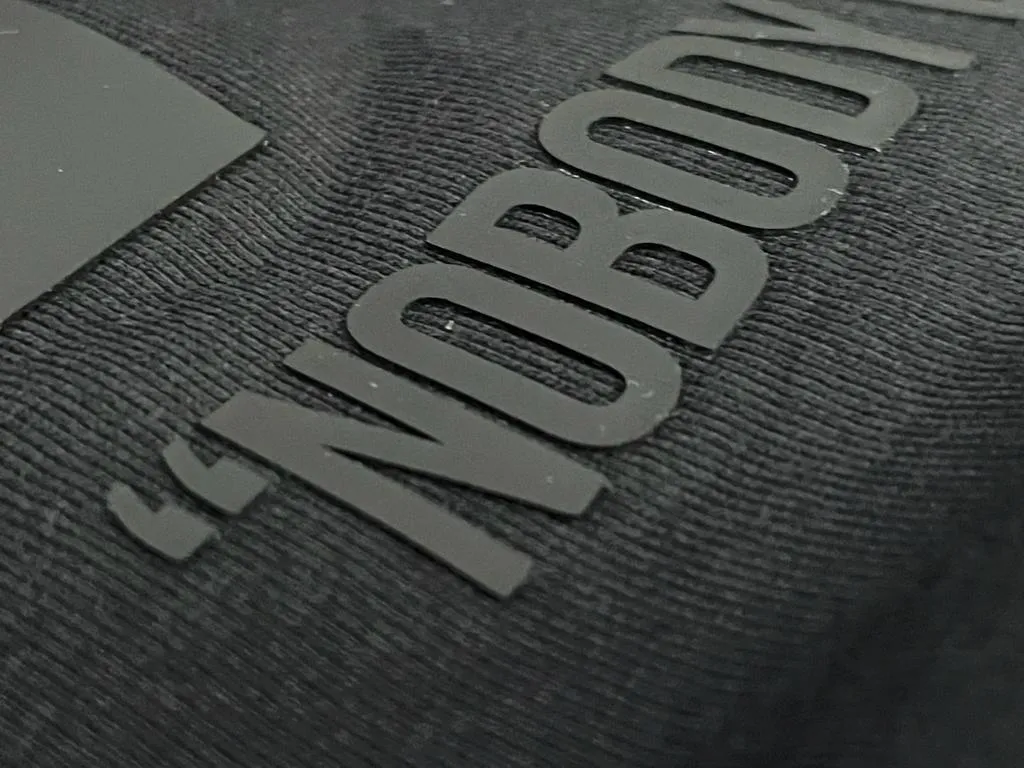
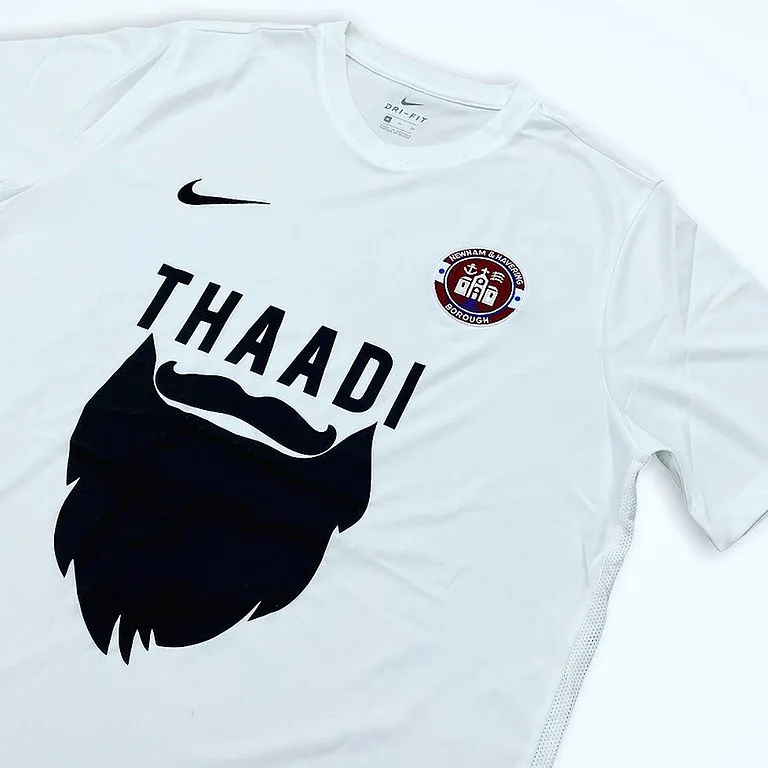
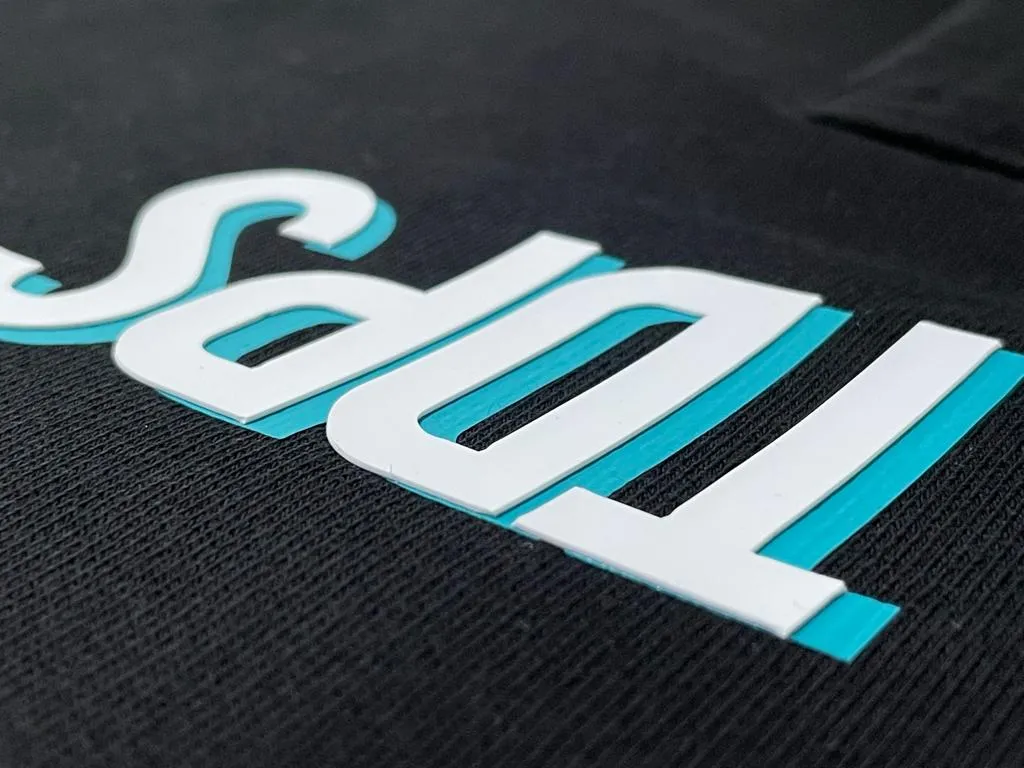
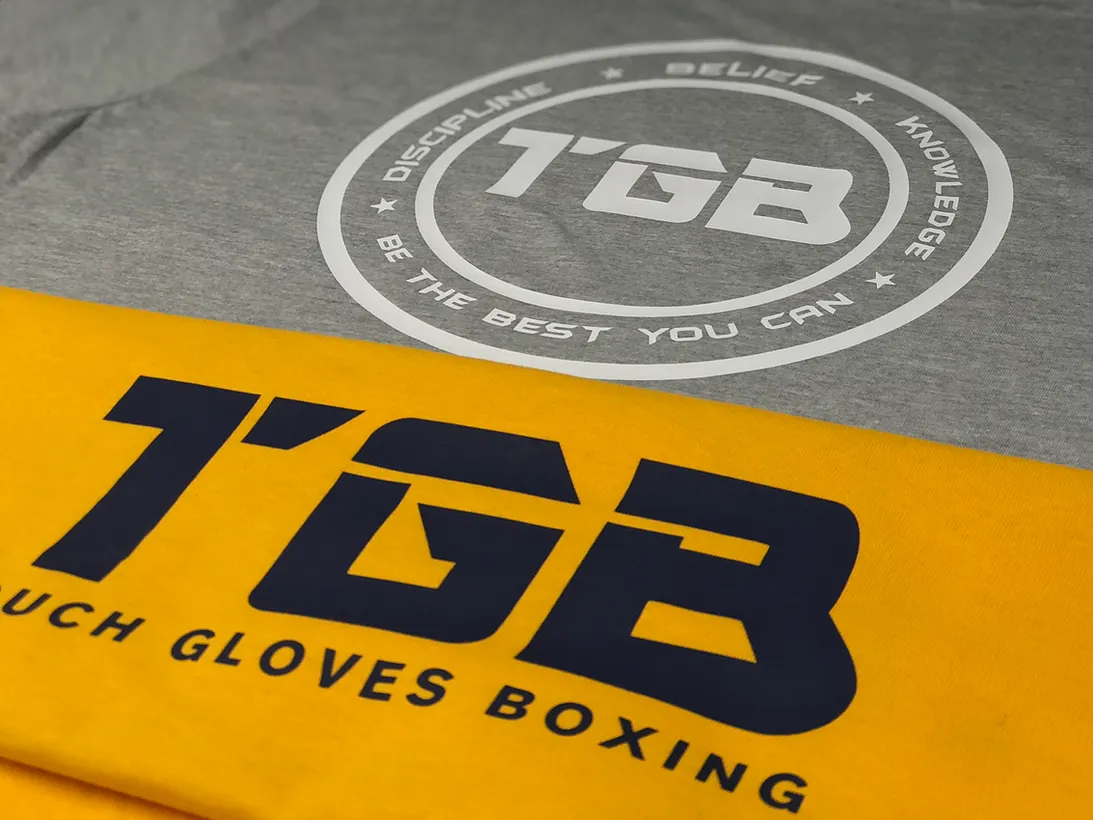
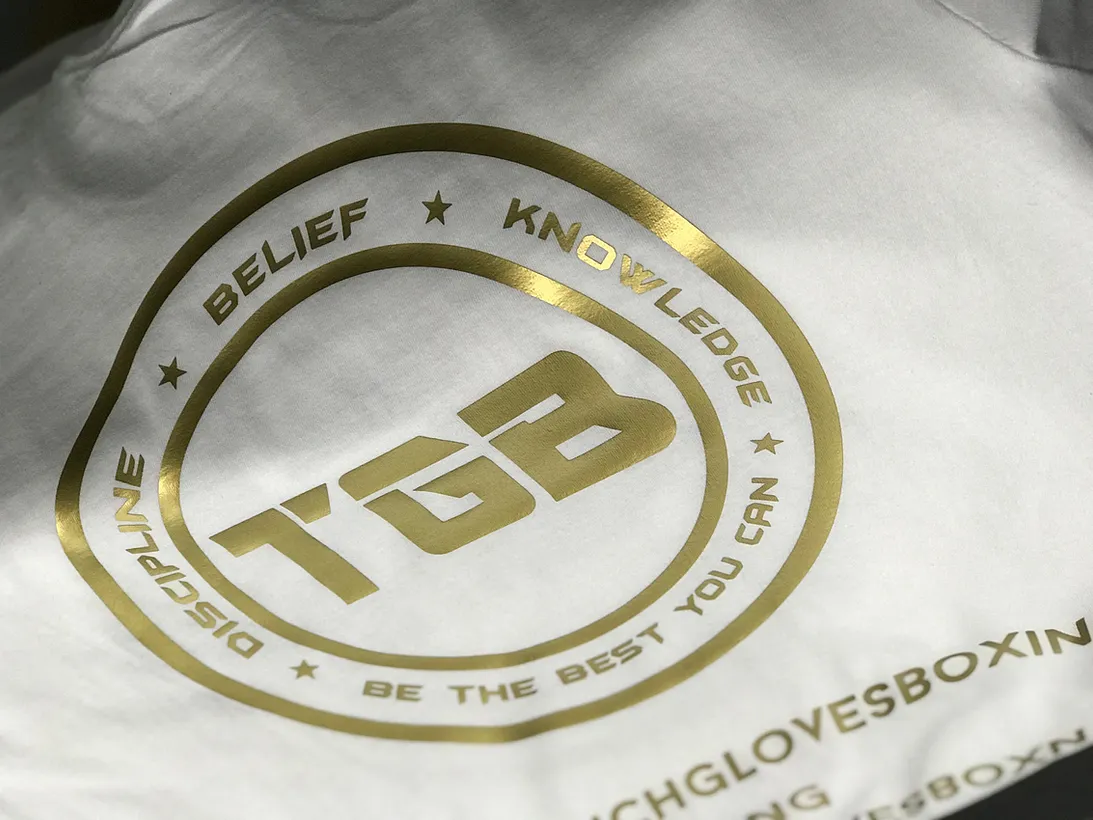
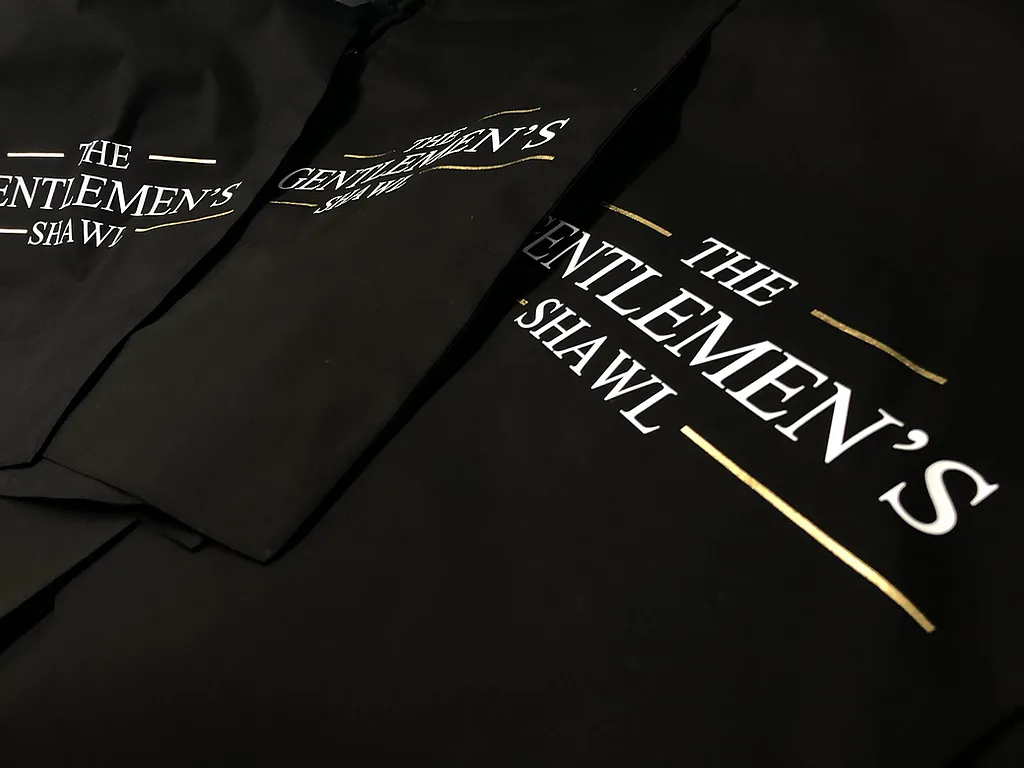
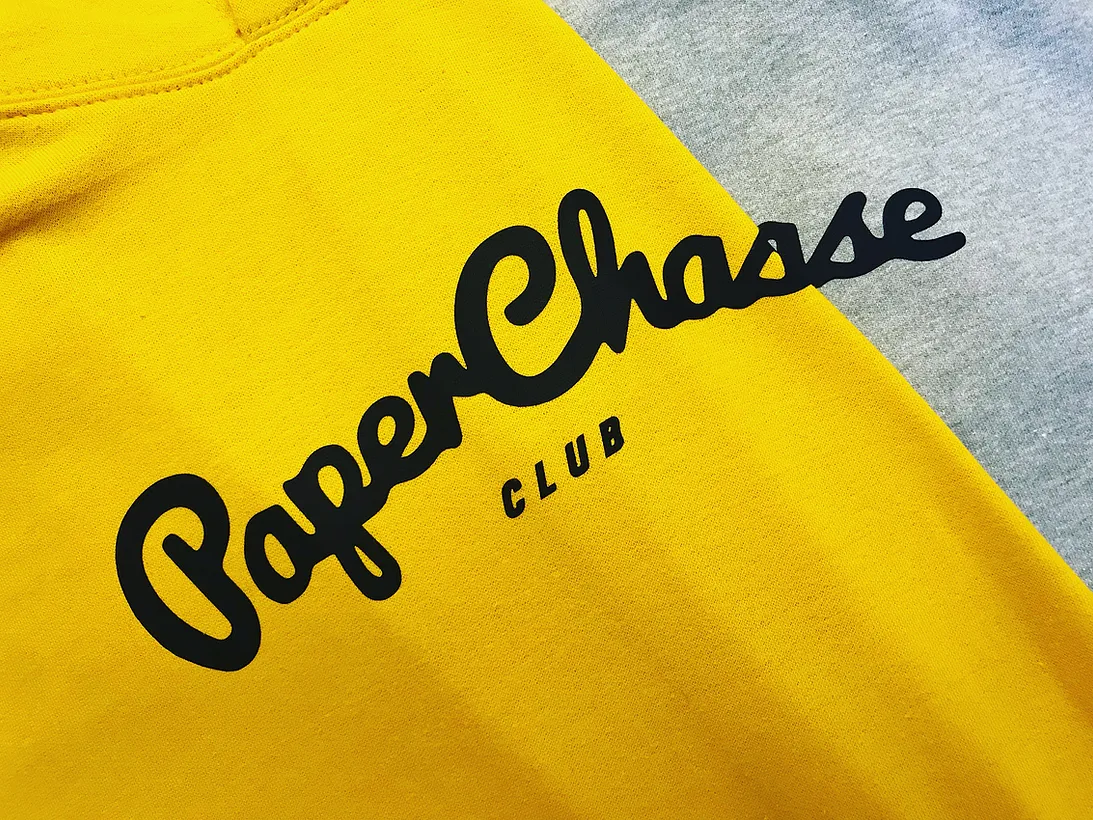
CAD Cut process allows you to only use a single color at a time & maximum 3 print color. It is best used on Team Name or Number and mostly wording or solid design.
There is a huge array of colors available from fluorescent to metallic print effects and flock velvet effects. This printing technique is used extensively for sportswear and team kits. Transfer printing can be used on virtually any fabric including Cotton, Cotton Blend, Polyester, Poly blend, Lycra, Viscose & Fleece. Modern vinyl transfers are tough, durable, bond firmly with the garment and will last a long time if taken care of.
This printing process can be used to print a wide range of garments including T-shirts, Sweatshirts, Hoodie, Hi-Viz Polo's, Jackets and more.
CAD CUT PRINT STEPS
STEP 1
The colours must be separated into different layers for print one colour at a time and all shapes, design or font must be turned into vectors. Otherwise, it won't work in CAD Cut Printing.
STEP 2
Once the file is ready to cut, it's time to selected vinyl color & load the transfer sheet on CAD Cut machine to cut the design as per required size, color by color.
STEP 3
‘Weeding’ is completely manual process which takes majority time in this printing process.Each colour weeding done separately after cut by machine.
STEP 4
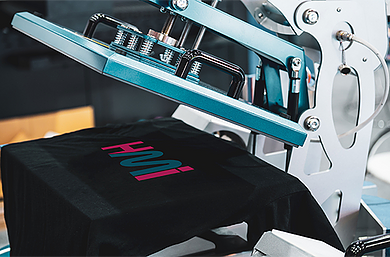
CAD Cut Transfer designs position on garments to make sure it's according to requirement. Pressed garment to high temperature so the pressure and the heat make the vinyl ‘stick.'
ARTWORK GUIDELINES
For your design to meet the requirements of CAD Cut Transfer (Vinyl Heat Transfer) your artwork will need to be in vector format and convert all paths to strokes.
Ensure artwork is at least 100% of the intended print area
Avoid gradients and shadows as this is only possible using DTG (Direct to garment) Printing